


Peel and Stick Wall Molding Ideas to Instantly Upgrade Your Space
Affiliate Disclosure: This post contains affiliate links. I may earn a commission from qualifying purchases (at no extra cost to you!) if you click through and make a purchase. I only recommend products I truly love for your space.
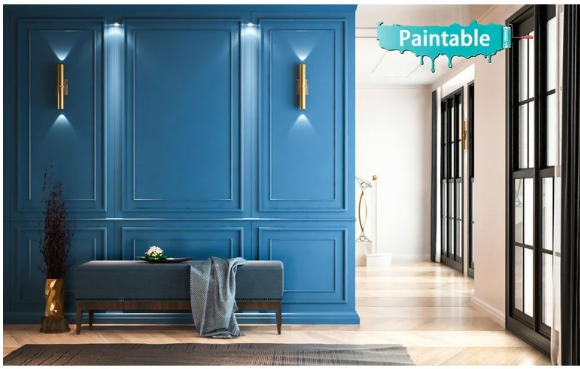
Why Peel and Stick Wall Molding Works Wonders
- It’s 100% removable—no worrying about damaging your deposit or scaring your landlord.
- Transforms even the blandest walls into designer-level focal points (hello, Instagram backdrop).
- No saws, nails, or major mess—if you can stick a sticker, you can do this.
- Budget-friendly and SO satisfying (instant gratification, anyone?).
- Mix-and-matchable styles mean you can go classic, modern, or totally custom.
Tools & Materials for Peel and Stick Wall Molding Ideas
If you’re ready to try peel and stick wall molding, here’s everything you’ll want nearby. No fancy tools required—just a little bit of patience and a free afternoon (seriously!).
| Item | Why You Need It | Pro Tip | CTA |
|---|---|---|---|
| Amazon Peel & Stick Molding Kit | The main star: these pre-cut, self-adhesive strips go up in minutes. | Pick a kit with corner pieces for extra pro edges. | Check Price on Amazon |
| Level | Keeps lines straight (wavy moldings aren’t a vibe) | A small bubble level is all you need! | Check Price on Amazon |
| Measuring Tape | For planning box sizes and spacing | Mark lightly with painter’s tape first | Check Price on Amazon |
| Painter’s Tape | Helps you visualize before committing | Great for testing placement & alignment | Check Price on Amazon |
| Scissors or Utility Knife | To trim pieces to size | Use a sharp blade for crisp cuts | Check Price on Amazon |
Disclosure: As an Amazon Associate I earn from qualifying purchases.
How to Apply Peel and Stick Wall Molding (Step-by-Step)
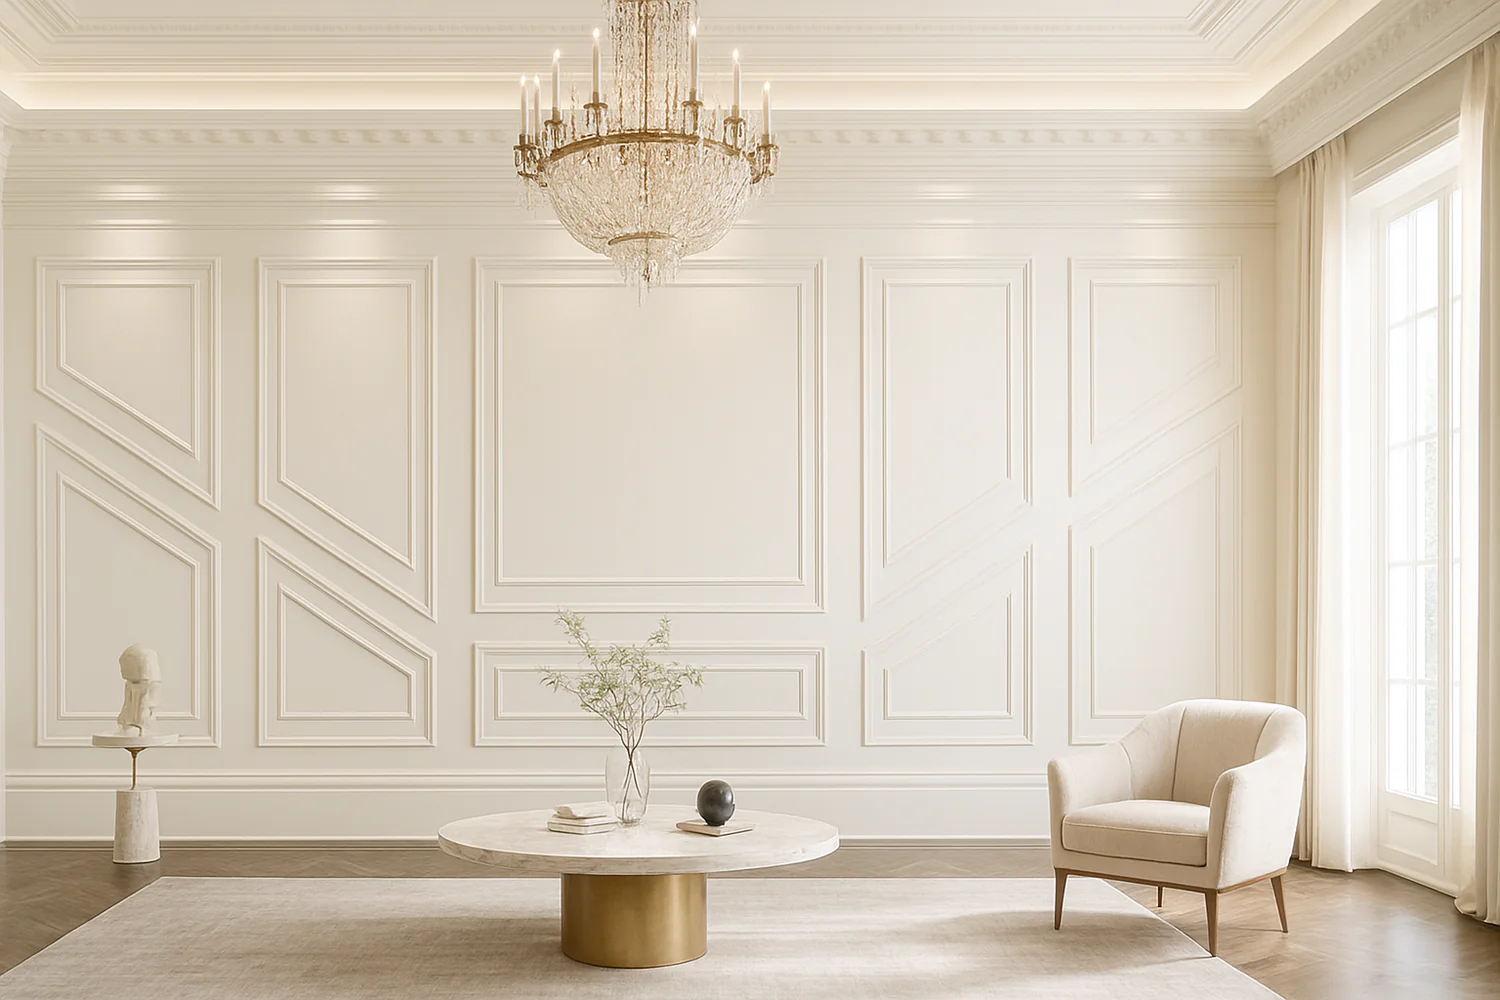
1. Decide Your Molding Layout
Browse Pinterest or screenshot inspo pics—think classic picture-frame boxes, trendy grid patterns, or a single chair rail. Use painter’s tape to mock up your chosen design right on the wall, making sure it feels balanced and fits your space.
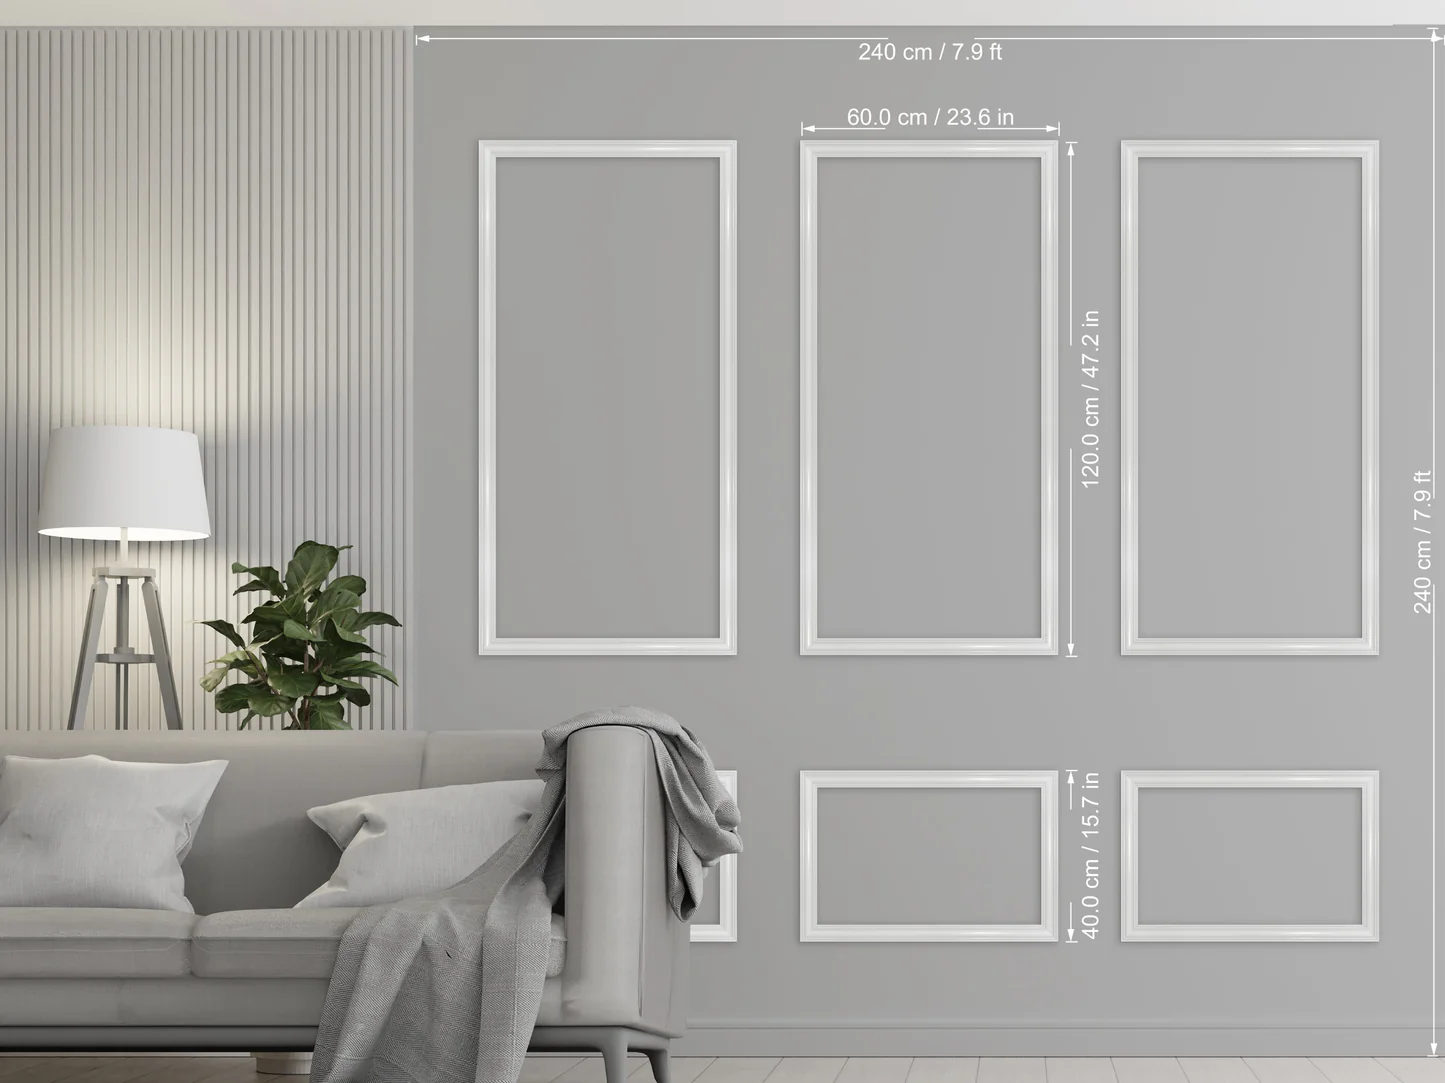
2. Measure & Mark
Grab your measuring tape and a pencil (don’t skip this!). Mark the borders and spacing for your molding so everything stays symmetrical. This is where the level shines—double check those lines.
3. Prepare the Wall Surface
Wipe the wall with a damp cloth to remove dust and let it dry. The cleaner the wall, the better everything sticks—and the longer it’ll last without peeling.
4. Cut Molding Strips to Size
Lay out your peel and stick molding kit, and trim each piece to your measured dimensions. Use sharp scissors or a utility knife for clean edges (and fewer redo’s!).
5. Peel Backing & Apply!
Start at one corner and work outward. Peel a bit of the backing, press the molding to the wall, then slowly work your way down—smoothing with your hand to avoid bubbles or creases.
6. Press & Secure
Once the full strip is in place, press it firmly for 30 seconds, especially at corners and edges. Walk away, admire, repeat with the rest of your strips.
7. (Optional) Paint for a Custom Look
If your kit is paintable, you can paint the molding (and the wall!) the same color for a seamless look, or opt for contrast for extra drama. Just use painter’s tape to protect everything while you work.
Pros
- Super renter-friendly & easily removable
- No tools, nails, or major mess
- Budget-conscious transformation
- Works on most smooth walls
- Amazing for trying trends risk-free
Cons
- Not for textured or uneven walls
- Some brands lose stickiness over time
- May not look as “solid” as wood molding up close
- Not ideal for high-moisture bathrooms
Do’s & Don’ts for Peel and Stick Wall Molding
Do
- Test a strip in an out-of-sight area before committing to the whole wall
- Measure twice, cut once (it saves headaches!)
- Use a level for super crisp lines
- Go for paintable moldings if you want a tailored look
Don’t
- Stick molding onto dirty, greasy, or textured walls
- Rush the placement (slow and steady wins)
- Overlap strips (seams really show on stick-on molding)
- Forget to check your lease for wall guidelines
Where to Use Peel and Stick Wall Molding Ideas
- Behind the sofa for a faux wainscoting effect
- In entryways to frame a statement mirror or console table
- Bedroom accent wall (especially behind the headboard!)
- Powder room—just avoid direct water splash zones
- Hallways to add architectural interest without narrowing the space
- Rental dining rooms for instant classic vibes
Final Thoughts (From Me to You)
If you want to dip your toe into wall upgrades (without power tool panic or security deposit drama), peel and stick wall molding ideas are literally made for you. They’re the ultimate renter hack—totally transformative with zero risk, and bonus points for being totally removable whenever life changes. Try a simple box grid, get wild with an accent border, or just refresh the hallway—whatever you choose, it’ll look put-together and pricey (minus the actual pricey part). You’ve SO got this!