


Mirror Wall Decor Ideas for Living Room
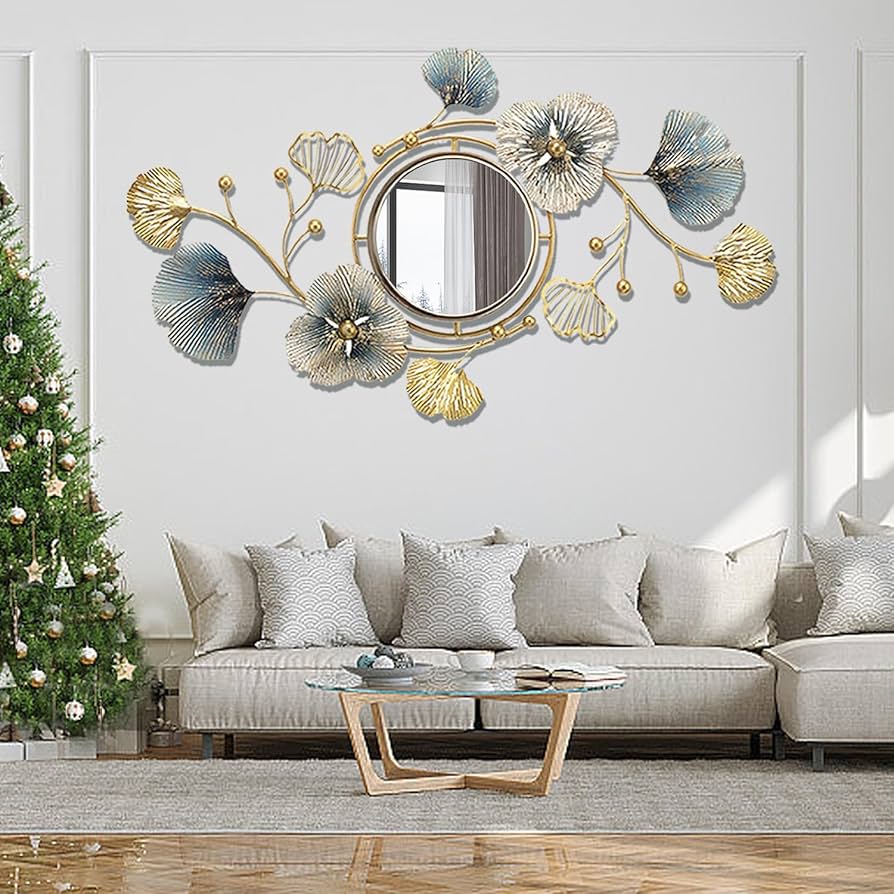
Here’s a mirror wall decor idea that can instantly transform your living room from “just okay” to “wow, did you hire a designer?” — and honestly, you don’t need to break the bank, stress over color palettes, or commit to anything permanent. If you’ve ever wished your space looked brighter and bigger, mirrors are your secret weapon. Let’s get you inspired and (finally) make that blank wall your new favorite statement spot.
FTC Disclosure: This post may contain affiliate links. If you buy through them, I may earn a small commission at no extra cost to you. Your support means a lot and helps keep these DIY ideas coming!
Why Mirror Wall Decor Works So Well in Living Rooms
- Bounces natural light around, making small or dark living rooms feel open and cheerful.
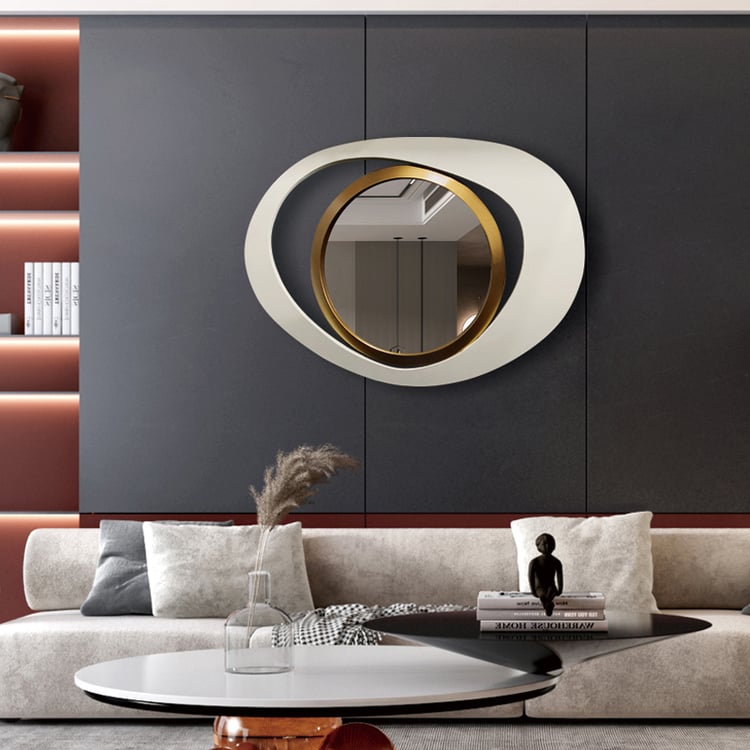
- Acts as a focal point or accent piece with instant visual impact—no repainting required.
- Reflects style: whether you love boho, glam, or minimalist, there’s a mirror to match.
- Easy to swap out or rearrange if you like updating your look seasonally (hello, renters!).
- Creates an illusion of space, which is perfect for apartments and smaller homes.
Tools & Materials for Mirror Wall Decor Ideas
Let’s keep it simple and rental-friendly! Here’s what you’ll need to pull off a gorgeous mirror wall look—no heavy-duty tools or contractor required.
| Item | Why You Need It | Pro Tip | CTA |
|---|---|---|---|
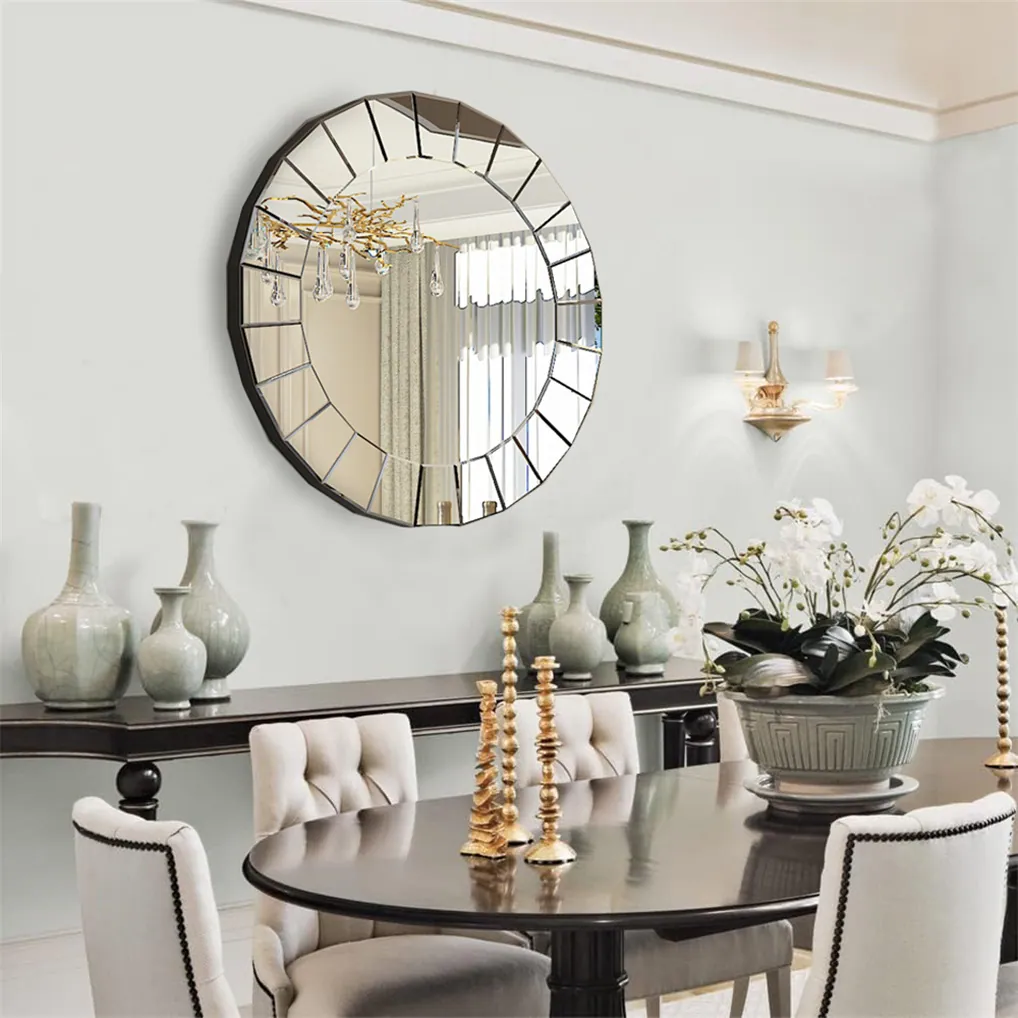
| Round Wall Mirror | Acts as a statement piece and bounces light beautifully | Go oversized for drama, or group three small ones in a row | Check Price on Amazon |
| Self-Adhesive Mirror Tiles | Customizable for gallery layouts—no nails needed! | Perfect for renters or anyone nervous about wall damage | Check Price on Amazon |
| Decorative Mirror Set (Sunburst or Geometric) | Ready-made designs take the guesswork out of styling | Hang above a console table for instant Pinterest vibes | Check Price on Amazon |
| Command Strips for Mirrors | Damage-free hanging solution—no tools, no holes | Follow weight limits for safety & easy removal | Check Price on Amazon |
| Microfiber Cloth & Glass Cleaner | Keep fingerprints and smudges at bay for a flawless look | Buff with a dry cloth after cleaning for a streak-free shine | Check Price on Amazon |
Disclosure: As an Amazon Associate I earn from qualifying purchases.
Top Pick: Frameless Mirror Tiles
So easy to use, even for total DIY beginners. Stick, peel, and move if you change your mind!
Designer-Style Mirror Sets
Go from bare to beautiful in one afternoon—great for renters and commitment-phobes.
Hassle-Free Hanging
Command Strips make decorating painless—and you keep your security deposit.
How to Style Mirror Wall Decor in Your Living Room: Step-by-Step
1. Choose Your Mirror Style
Decide if you want a bold statement (like an oversized round mirror), a gallery grid (using adhesive tiles), or a playful set (sunburst, geometric, etc). Scroll through inspiration, but trust your gut—pick what makes you smile!
2. Plan Your Layout
Lay mirrors on the floor first to test different arrangements. Snap a quick photo on your phone—you’ll notice what looks balanced or off before anything goes on the wall.
3. Prepare the Wall
Wipe your wall with a dry cloth (dust can affect how well adhesives stick). If you’re a renter, measure carefully so everything is easy to patch or cover later.
4. Attach Mirrors (The Easy Way)
For lightweight mirrors and tiles, use Command Strips for a no-holes, no-stress install. For heavier mirrors, double-check weight and wall type, and always follow package instructions.
5. Style Around Your Mirrors
Add a small shelf underneath, layer with plants or candles, or drape some fairy lights nearby. Mirrors love good company and a little styling goes a long way to make the look intentional.
6. Keep Them Sparkling
Use a microfiber cloth and glass cleaner weekly for that “just-styled” shine. (Fingerprints always show, especially on sunny days!)
Pros
- ✔ Instantly makes rooms feel larger and brighter
- ✔ No mess or painting needed—just hang and enjoy
- ✔ Works with every decor style (minimalist, glam, boho, etc.)
- ✔ Easy to swap, remove, or rearrange as trends change
Cons
- Can show fingerprints and dust easily—needs regular cleaning
- Heavy mirrors may not suit all wall types (check before hanging!)
- Improper placement could reflect clutter (style your space first!)
Do’s & Don’ts for Mirror Wall Decor
Do
- Test layouts on the floor or with painter’s tape first
- Use adhesive or Command Strips if you’re renting
- Choose mirrors that echo your room’s shapes (round, arched, etc.)
- Layer with decor underneath for a designer touch
Don’t
- Hang mirrors where they might reflect clutter or cords
- Ignore manufacturer weight guidelines for adhesives
- Use harsh cleaners (they can damage mirror backing)
- Feel stuck—mirrors are easy to move if you change your mind!
Where Mirror Wall Decor Looks Best
- Above a living room couch for an instant focal point
- In a gallery wall mix with art, baskets, or woven objects
- Opposite windows to maximize natural light (game changer for dark spaces!)
- Behind a console or entry table to create openness right when you walk in
- Layered with plants or soft textiles for a cozy, curated vibe
Final Thoughts (From Me to You)
Mirrors are pretty much the ultimate cheat code for renters who want big impact with zero risk. I’m obsessed with how quickly you can go from empty wall to edited-chic, and the best part is, if you ever move or want to switch things up, you can do it all over again without losing your deposit. Remember: trust your instincts, start simple, and don’t overthink it—half the fun is experimenting until you find what feels like home. Happy decorating!