


Modern and Budget-Friendly DIY Accent Wall
“Okay but tell me why this wall just changed the whole vibe of your house?”
“Girl… because wood slats are magic.”
Disclosure: This post may contain affiliate links. If you buy through links on our site, we may earn a small commission at no extra cost to you.
Why We’re Obsessed With Wood Slats
If you’ve been scrolling Pinterest, you’ve seen wood slat accent walls everywhere—behind TVs, beds, and entryway benches. They add instant texture and a “custom built-in” vibe without the contractor price tag. We’re going to show you the simple, repeatable process (measure → level → nail → repeat) so you can get that modern look in a weekend.
Jump to Tools + Materials
Jump to Steps
Do’s & Don’ts
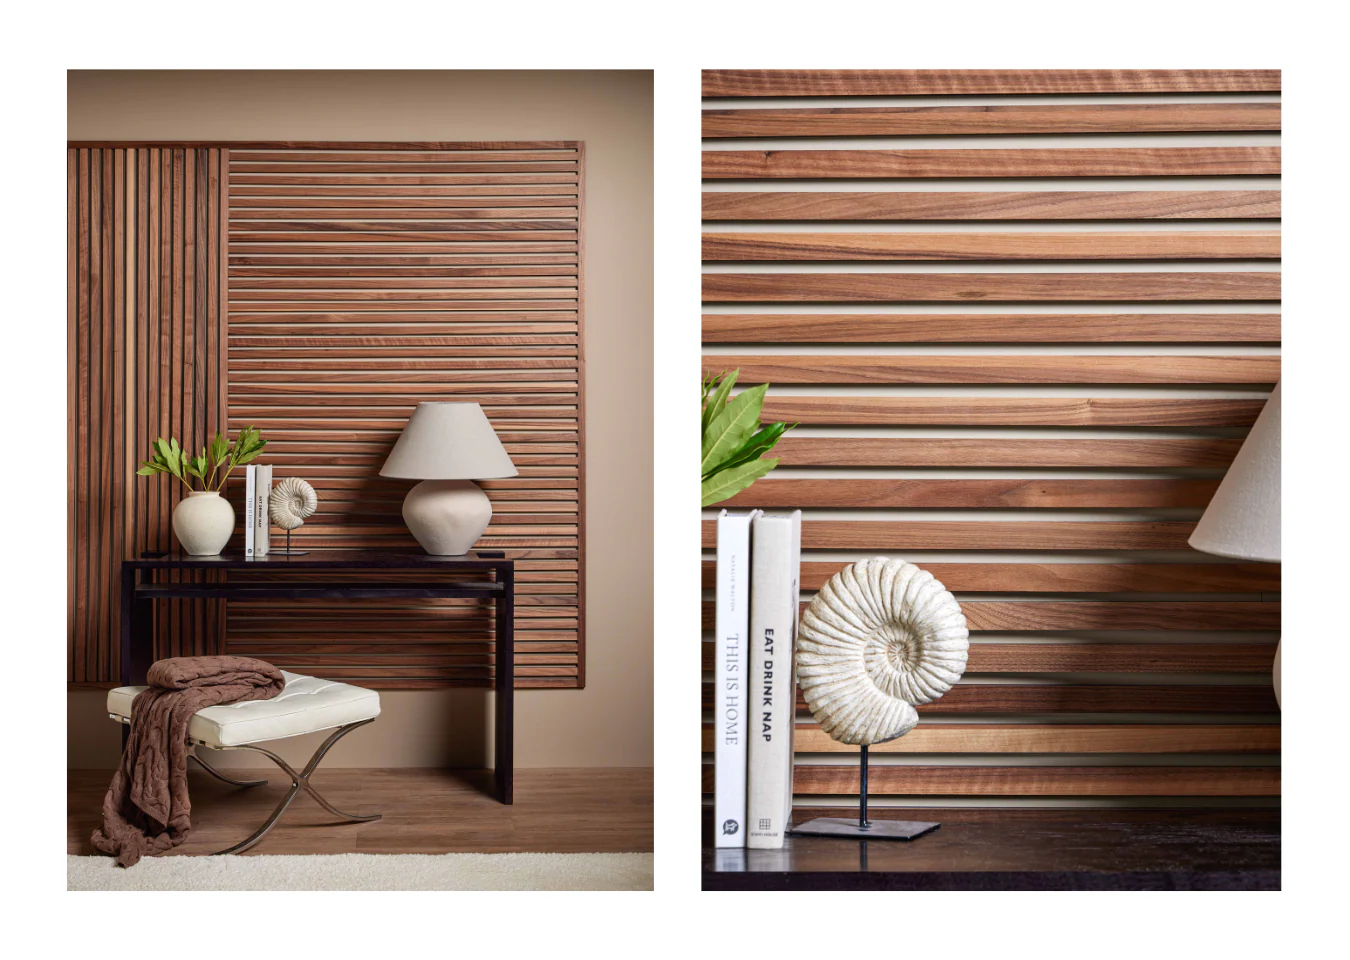
Close-up of vertical wood slat accent wall texture in modern interior
Benefits (Why This Looks Expensive)
- Instant upgrade: adds depth, warmth, and a designer feel.
- Customizable: pick your spacing, width, stain, or paint color.
- Works anywhere: bedrooms, living rooms, entryways, offices.
- Budget friendly: pine + basic tools go a long way.
- Pinterest gold: texture + vertical lines photograph beautifully.
Tools & Materials You’ll Need
“Promise it’s not complicated… it’s just a lot of repeating.”
“Exactly. Once your spacing is set, it’s basically copy-paste for your wall.”
| Item | Why You Need It | Pro Tip | CTA |
|---|---|---|---|
| 1×2 or 1×3 Pine Boards (slats) |
Your vertical slats for the wall. | Buy 10–15% extra for cuts & mistakes. | Check Price on Amazon |
| Stud Finder (stability) |
Helps you nail into studs for a solid hold. | Mark studs lightly with pencil + tape. | Check Price on Amazon |
| Level (or Laser Level) | Keeps every slat straight (this is the secret). | Laser level makes it faster + cleaner. | Check Price on Amazon |
| Brad Nailer + Brad Nails | Fast, clean installs with minimal wall damage. | 18-gauge is most common for trim/slats. | Check Price on Amazon |
| Construction Adhesive | Adds extra grip so slats don’t shift over time. | Use a thin bead—too much can ooze. | Check Price on Amazon |
| Miter Saw (or Circular Saw) | Cuts boards to wall height cleanly. | A stop block helps cut identical lengths. | Check Price on Amazon |
| Wood Filler + Sandpaper | Hides nail holes for a seamless finish. | Finish with 180–220 grit for smoothness. | Check Price on Amazon |
| Stain or Paint + Brush/Rag | Finishes the look: warm stain or modern paint. | Stain before install for quicker coverage. | Check Price on Amazon |
Most Useful Tool (Beginner)
A laser level makes your slats look professionally installed.
Fastest Install Upgrade
Brad nailer = clean holes, faster progress, less frustration.
Finish Like a Pro
Wood filler + fine grit sanding makes everything look seamless.
Step-by-Step: Build Your Wood Slat Wall
1) Measure & Decide Your Spacing
Common spacing is ½” to 1″ between slats. Common board widths are 1.5″ to 3″.
Use painter’s tape on the wall to preview the look before you commit.
2) Find Studs + Mark a Straight Baseline
Use a stud finder and mark stud locations. Then snap a vertical baseline (or use a laser) so your first slat starts perfectly straight.
3) Cut & Prep Slats
Cut each board to the same height. Sand edges lightly. If staining, stain before installing for cleaner coverage and less mess.
4) Install: Adhesive + Nail
Add a thin bead of construction adhesive to the back of each slat, then nail into studs. Use spacer blocks between slats so gaps stay consistent.
5) Fill, Sand, Touch Up
Fill nail holes, sand smooth, and touch up paint/stain. Step back and enjoy that “I can’t believe we did this” feeling.
Pros & Cons
Pros ✅
- High-end look on a budget
- Easy to customize (spacing, stain, paint)
- Adds texture + warmth instantly
- Great backdrop for photos and Pinterest pins
Cons ⚠️
- Time-consuming (measure + repeat)
- Needs precision to look professional
- Can collect dust (quick wipe fixes it)
- Textured walls may need prep first
Do’s & Don’ts
Do ✅
- Paint the wall behind the slats first for a seamless look
- Use a level on the first slat (and check every few slats)
- Buy extra boards (cuts + wood grain match)
- Use spacer blocks for consistent gaps
Don’t ❌
- Skip studs if you’re mounting shelves/TV nearby
- Rush the measuring stage (it shows)
- Overdo adhesive (it can ooze and stain)
- Forget safety gear when cutting wood
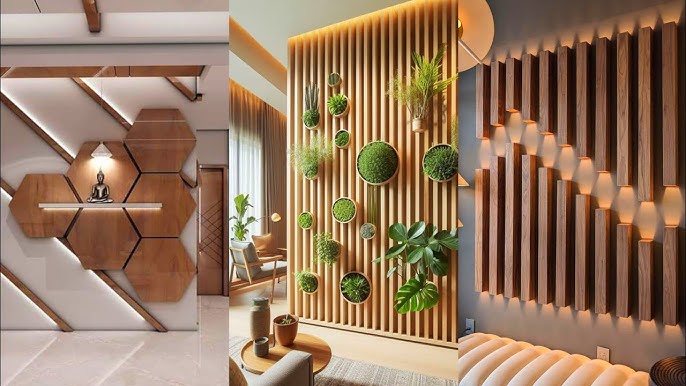
Where This Looks Best
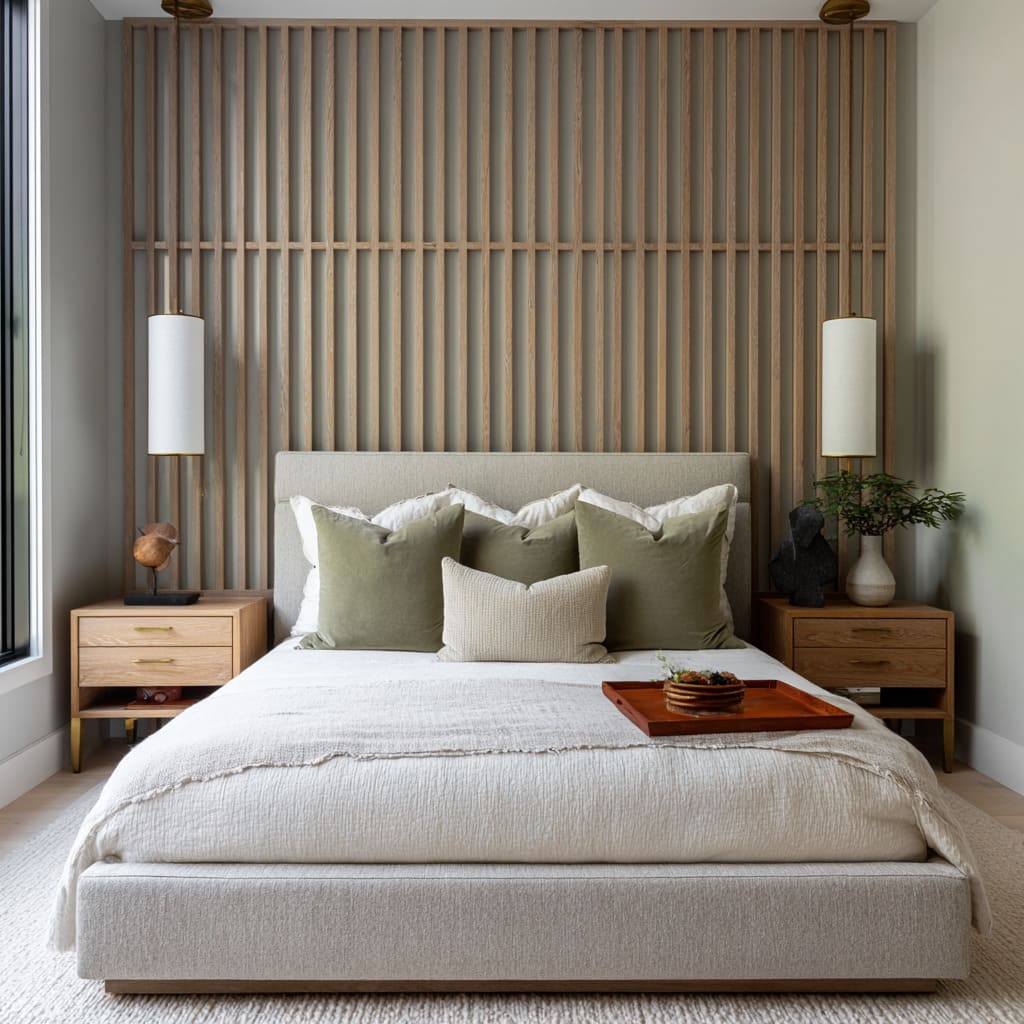
- Behind a bed (built-in headboard effect)
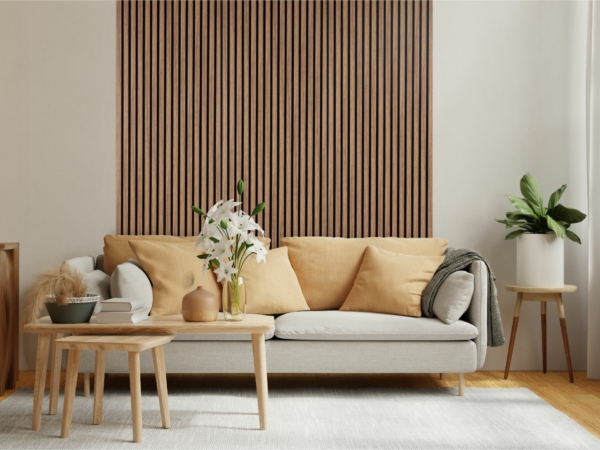
- Behind a TV (modern media wall look)
- Entryway (designer moment instantly)
- Home office (best Zoom background ever)
Final Thoughts (From Us to You)
“I thought this would be intimidating.”
“Same… but it’s really just measuring and repeating — and the payoff is HUGE.”
A DIY wood slat accent wall is one of those projects that looks custom and expensive, but you can absolutely do it yourself.
Take your time, keep your spacing consistent, and you’ll end up with a wall that looks like it came straight off Pinterest.
More DIY Ideas on Decormoods.com